
A comprehensive guide for constructing a sauna, offering detailed plans, design ideas, and material lists. Perfect for DIY enthusiasts, it covers everything from layout to safety tips.
1.1 Overview of Sauna Construction and Design
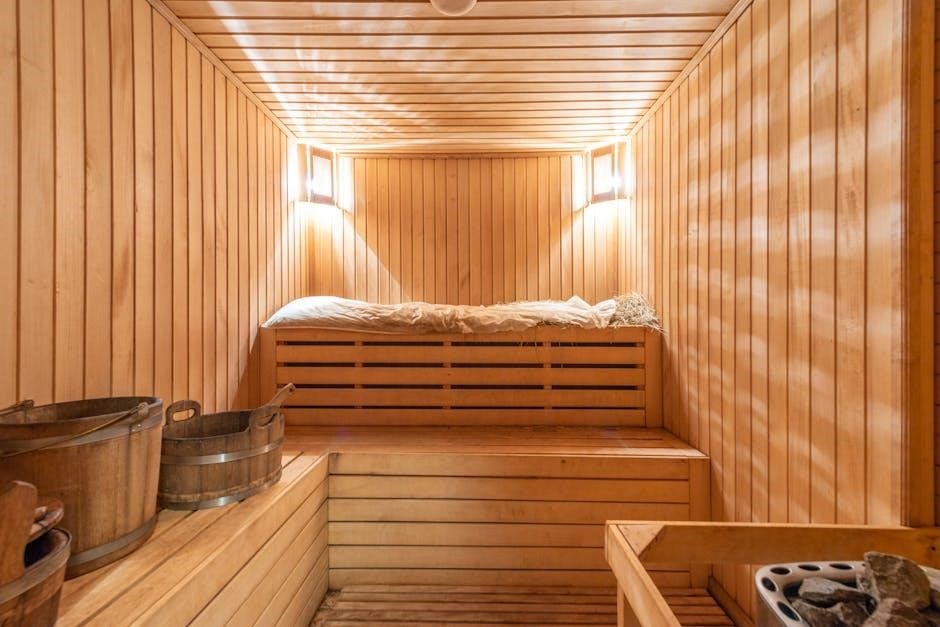
Sauna construction involves creating a functional and aesthetically pleasing space using durable, heat-resistant materials. Design focuses on layout, ventilation, and insulation to ensure safety and efficiency. Traditional Finnish designs often feature wooden interiors, while modern plans may incorporate glass or metal accents. Proper bench placement, heater location, and door installation are essential for optimal performance and comfort in the sauna.
1.2 Importance of Detailed Plans for DIY Projects
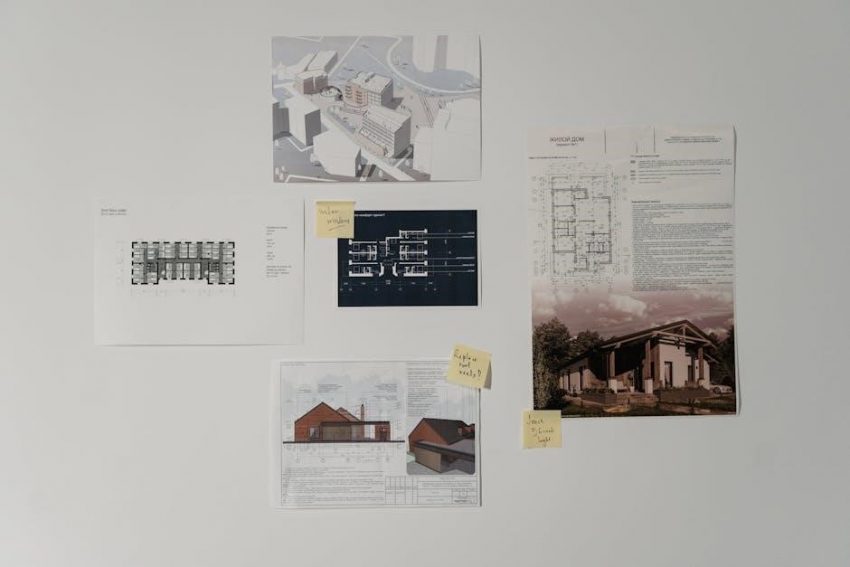
Detailed plans are crucial for successful DIY sauna projects, ensuring all components fit and function properly. They provide step-by-step instructions, material lists, and design layouts, minimizing errors and saving time. With precise measurements and clear guidelines, even beginners can achieve professional results, creating a safe and enjoyable sauna experience tailored to their space and preferences.
Essential Information for Building a Sauna
Building a sauna requires careful planning, including material selection, design layout, and ventilation. Detailed plans ensure safety, efficiency, and compliance with construction standards for optimal results.
2.1 Choosing the Best Location for Your Sauna
When selecting a location for your sauna, consider space availability, accessibility, and privacy. Ensure good ventilation and proximity to water sources. Indoor saunas benefit from easy access, while outdoor saunas require drainage and weather protection. Choose a spot that maximizes comfort and convenience, ensuring compliance with local building codes and safety standards for optimal enjoyment.
2.2 Key Features of Sauna Design and Layout
A well-designed sauna includes essential features like bench placement, heater location, and ventilation. Bench layouts typically offer 2-3 tiers for comfort, while heater placement ensures even heat distribution. Proper ventilation is crucial for airflow and safety. The design should also consider door and window positioning for efficiency and aesthetics, ensuring a functional and enjoyable sauna experience.
2.3 Ventilation Requirements and Safety Tips
Proper ventilation is vital for sauna safety, preventing overheating and moisture buildup. Install vents at floor and ceiling levels to ensure airflow. Use a vapor barrier and maintain a 25-50mm air gap behind walls. Regularly inspect heaters and electrical components to avoid hazards. Ensure the sauna is well-ventilated to maintain a safe and healthy environment for users.
Sauna Construction and Framing Details
Explore essential framing techniques for sauna walls and ceiling. Learn about panel-built construction and assembly methods. Detailed plans ensure durability and proper heat distribution.
3.1 Framing Techniques for Walls and Ceiling
Use 2×4 or 2×6 spruce studs for walls and ceiling, ensuring sturdy construction. Proper framing allows for insulation and vapor barriers. For outdoor saunas, 2×6 studs are recommended. Ensure frames are aligned and secure to support the structure and maintain heat efficiency. These techniques are detailed in sauna plans for durability and safety.
3.2 Panel-Built Sauna Construction Method
The panel-built method simplifies sauna construction by using pre-assembled panels. These panels include walls, ceiling, and flooring, ensuring quick assembly. They are constructed with 32x32mm frames, leaving a 25-50mm air gap for insulation. This method offers flexibility while maintaining traditional sauna design principles, making it ideal for both small and large spaces.
3.3 Roof Framing and Assembly
Rafters are spaced 24 inches apart, secured with ridge beams. Exterior-grade plywood covers the roof, followed by a vapor barrier and insulation. The roof is then finished with weather-resistant materials like shingles or metal. This ensures durability and energy efficiency, while proper flashing prevents leaks, maintaining the sauna’s structural integrity and interior comfort.

Design and Layout Considerations
Maximize comfort and efficiency with intelligent layouts, including bench placement, heater location, and door positioning. Standard designs feature 2×4 or 2×6 frames, ideal for outdoor saunas.
4.1 Standard Sauna Layouts for Different Spaces
Standard sauna layouts cater to various spaces, ensuring efficiency and comfort. A 6×8 layout accommodates 1-6 people, while an 8×12 design suits larger groups. Tiered benches, heater placement, and door positioning are optimized for space. These layouts maximize functionality, offering a cozy retreat for relaxation. Ideal for both small and large areas, they provide a perfect blend of comfort and practicality.
4.2 Custom Design Ideas for Small and Large Saunas
Custom sauna designs offer tailored solutions for small and large spaces. For smaller areas, consider compact layouts with foldable benches or vertical storage. Larger saunas can feature multi-tier seating, private compartments, or integrated showers. These designs emphasize functionality, aesthetics, and personal preference, ensuring a relaxing experience regardless of space constraints.
4.3 Bench Placement and Heater Location Tips
Optimal bench placement ensures comfort and efficiency. Typical layouts include 2-tier and 3-tier designs, with benches positioned to maximize space. Heater location is critical for even heat distribution and safety. Place heaters away from benches and ensure proper clearance. Door placement should allow smooth airflow, enhancing the sauna experience while maintaining heat retention. Proper planning ensures functionality and comfort.

Materials and Equipment for Sauna Building
Essential materials include durable woods, vapor barriers, and insulation. Key equipment comprises sauna stoves, control panels, and heaters. These ensure safety, efficiency, and optimal performance for your sauna.
5.1 Recommended Materials for Sauna Construction
Use durable, moisture-resistant materials like cedar, spruce, or hemlock for walls and ceilings. Include vapor barriers and insulation for heat retention. 2×4 or 2×6 studs are ideal for framing. Choose heat-tolerant materials for benches and floors, ensuring safety and longevity. Proper sealing and waterproofing are crucial to prevent moisture damage and maintain efficiency.
5.2 Sauna Stoves and Control Panels
Selecting the right sauna stove is crucial for optimal performance. Electric stoves are popular for their ease of use and precise temperature control. Wood-fired stoves offer an authentic experience with traditional heat. Control panels regulate heating elements, timers, and safety features. Ensure compatibility with your sauna design and adhere to safety standards for reliable and efficient operation.
5.3 Insulation and Vapor Barrier Installation
Proper insulation and vapor barrier installation are essential for maintaining heat efficiency and preventing moisture damage. Use materials like foam board or fiberglass for insulation, ensuring a vapor barrier is placed between the studs and the interior lining. This protects the structure from moisture and ensures optimal heat retention, promoting a safe and enjoyable sauna experience.

DIY Sauna Kits and Plans
DIY sauna kits offer pre-designed plans and materials for easy assembly. They include detailed instructions, ensuring a cost-effective and customizable sauna-building experience for homeowners.
6.1 Benefits of Using Pre-Designed Sauna Plans
Pre-designed sauna plans provide a clear roadmap, saving time and reducing errors. They include precise measurements and material lists, ensuring a professional finish. These plans cater to various spaces and preferences, offering cost efficiency and design flexibility for both novice and experienced builders, making the construction process streamlined and stress-free.
6.2 Free Sauna Plans and Layouts for Download
Access a variety of free sauna plans and layouts online, suitable for different spaces and preferences. These downloadable resources offer detailed designs, from small to large saunas, including traditional Finnish styles. They often include customizable options, ensuring you can tailor your project to fit your needs and budget, providing a cost-effective solution for your DIY sauna construction.
6.3 Modular Sauna Kits for Easy Assembly
Modular sauna kits offer a convenient and time-saving solution for DIY projects. These pre-designed kits include pre-cut panels, frames, and accessories, ensuring easy assembly. Perfect for both indoor and outdoor setups, they provide a versatile option for creating a sauna that suits your space. Kits often include detailed instructions, making them ideal for those new to sauna construction.

Advanced Planning and Construction Tips
Expert guidance for optimal sauna construction, covering floor assembly, wall placement, and framing techniques. Ensure precision and durability with these advanced strategies for a professional finish.
7.1 Floor Assembly and Wall Placement
Ensure a sturdy base with precise floor assembly using 2×4 or 2×6 lumber, ideal for outdoor saunas. Proper wall placement maintains structural integrity, with a 25-50mm air gap for ventilation. Align studs correctly and secure frames to prevent shifting. Use vapor barriers between studs for moisture protection, ensuring a durable and long-lasting sauna structure.
7.2 Front and Back Wall Framing
Frame front and back walls using 2×4 construction-grade spruce studs, ensuring proper alignment with floor assembly. Install a vapor barrier between studs for moisture protection. Secure frames to the floor and ensure structural integrity. Use T&G paneling on the warm side of walls for a seamless finish. Proper framing ensures stability and longevity of your sauna structure.
7.3 Door and Window Installation
Install the sauna door and windows to ensure proper heat retention and ventilation. Use glass or high-temperature-resistant materials for windows. Align the door with the frame and secure it with hinges and a latch. Ensure tight sealing to maintain heat. Install a vapor barrier around door and window openings. Finish with T&G paneling for a seamless look and enhanced insulation.

Specialized Sauna Designs
Explore various options for specialized sauna designs, including commercial layouts, handicap-accessible models, and outdoor constructions. These designs cater to different needs, ensuring functionality and comfort in unique spaces.
8.1 Commercial Sauna Layouts
Commercial sauna layouts are designed to accommodate multiple users, ensuring efficiency and comfort. These plans often feature large capacities, ranging from 8 to 12 persons, ideal for hotels, gyms, and public spaces. The designs emphasize space optimization, durability, and easy maintenance, making them suitable for high-traffic environments while maintaining a relaxing atmosphere for users.
8.2 Handicap Accessible Sauna Designs
Handicap accessible sauna designs prioritize inclusivity and safety, featuring wide doorways, ramps, and grab bars. These layouts ensure easy entry and movement for individuals with mobility challenges. Non-slip flooring and adjustable benches are key elements, providing comfort and security. These designs cater to diverse needs, promoting relaxation and wellness for everyone, regardless of physical limitations.
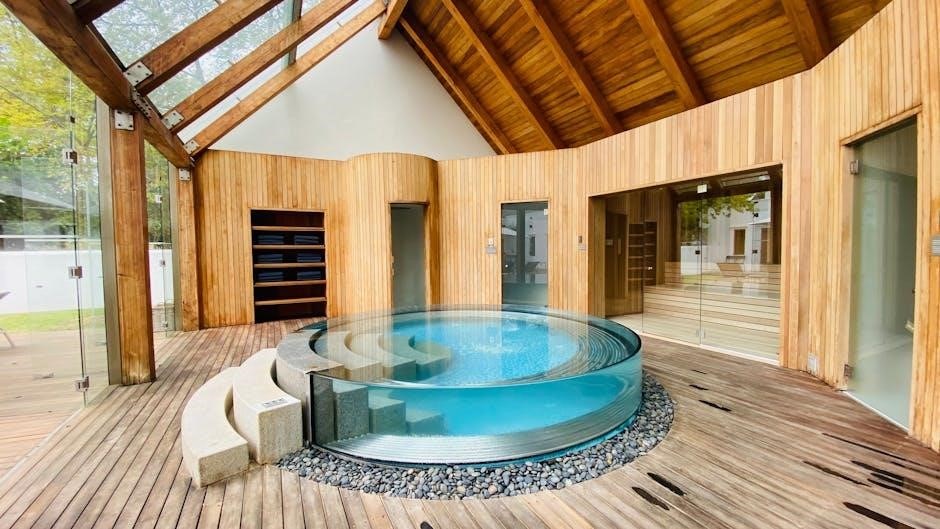
8.3 Outdoor Sauna Construction Tips
Building an outdoor sauna requires careful planning, with a focus on durable materials and weather-resistant designs. Ensure proper insulation and vapor barriers to protect against moisture. Choose materials like cedar or treated wood for longevity. Consider a sturdy foundation, such as concrete or a well-drained base, to prevent water damage. Install a roof that can withstand outdoor conditions, and ensure adequate ventilation for optimal performance and safety.

Economic Considerations for Sauna Building
Building a sauna can be cost-effective with proper planning. Optimize space, use energy-efficient materials, and consider long-term savings on maintenance and energy consumption.
9.1 Cost-Effective Sauna Designs
Cost-effective sauna designs focus on simplicity and functionality, using affordable materials like spruce or pine. Pre-designed plans minimize waste and labor costs, ensuring an efficient build. Opting for a smaller size or modular kits can further reduce expenses without compromising comfort or aesthetics, making saunas accessible for various budgets and spaces. Proper planning ensures affordability.
9.2 Space Optimization for Maximum Efficiency
Optimizing space ensures your sauna fits seamlessly into your available area. Compact floor plans and modular designs maximize efficiency without sacrificing comfort. Tiered benches and strategic heater placement save space while maintaining functionality. These designs are ideal for small rooms or outdoor setups, ensuring every inch is utilized effectively for a cozy and functional retreat.
9.3 Energy Efficiency in Sauna Construction
Energy efficiency is crucial for cost-effective sauna operation. Proper insulation, vapor barriers, and high-quality materials minimize heat loss. Compact designs and modern, energy-efficient heaters reduce power consumption. Strategic ventilation ensures optimal airflow without wasting energy. These practices not only lower energy costs but also enhance the sauna’s overall performance and environmental sustainability.
Final Touches and Maintenance
Complete your sauna project with interior design touches and regular maintenance to ensure longevity. Upgrading and customizing can enhance comfort and aesthetic appeal over time.
10.1 Interior Design and Aesthetics
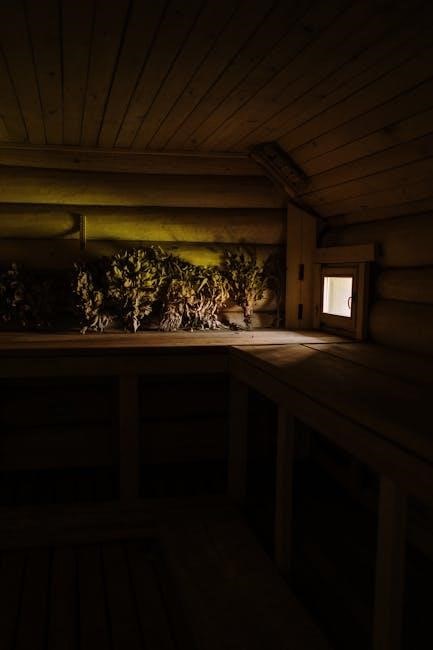
Enhance your sauna’s ambiance with thoughtful interior design. Choose materials like natural wood or stone for a cozy feel. Opt for neutral color schemes to create a calming atmosphere. Consider adding soft lighting, plants, or decorative accents to personalize the space. Ensure benches and heaters are strategically placed for both comfort and visual appeal.
- Use aromatic woods for a traditional sauna look.
- Incorporate subtle lighting to enhance relaxation.
10.2 Maintenance Tips for Longevity
Regular maintenance ensures your sauna remains durable and safe. Clean surfaces with mild detergents and rinse thoroughly. Inspect heaters, vents, and wood for wear. Replace damaged elements promptly. Ensure proper ventilation to prevent moisture buildup. Season wood surfaces annually to maintain their integrity and aesthetic appeal.
- Clean benches and floors after each use.
- Check stove and electrical components regularly.
10.3 Upgrading and Customizing Your Sauna
Enhance your sauna experience by adding personalized touches. Install LED lighting for ambiance or integrate digital controls for precise temperature management. Upgrade to premium materials like cedar or hemlock for a luxurious feel. Consider adding a glass door for modern aesthetics or a sound system for relaxation. Customize bench layouts and storage solutions to meet your specific needs and preferences.