
Viconics Thermostat User Manual: A Comprehensive Guide
This manual details operation, installation, and troubleshooting for Viconics thermostats, including zoning systems and wireless models. It covers event programming and fault codes.
Viconics thermostats are designed for efficient and reliable temperature control within diverse building environments. These systems offer advanced zoning capabilities, allowing for customized comfort and energy savings. Understanding the core functionalities is key to maximizing performance. This guide provides a comprehensive overview, from basic operation to advanced programming features, ensuring users can effectively manage their heating and cooling systems.
Viconics offers both wired and wireless thermostat options, catering to various installation needs. The systems support multiple event programming schedules, enabling precise temperature adjustments based on occupancy and time of day. Proper configuration of these events – occupied and unoccupied setpoints – is crucial for optimal energy efficiency and user comfort. Refer to the Viconics Zoning System Guide for detailed recommendations.
Understanding Viconics Zoning Systems
Viconics zoning systems divide a building into distinct temperature control zones, enhancing comfort and reducing energy waste. Each zone operates independently, responding to individual thermostats and schedules. This contrasts with traditional systems that treat the entire building as a single zone. Effective zoning requires careful planning and configuration, including assigning thermostats to specific zones and defining appropriate event programming.
The system utilizes multiple events to manage temperature transitions. Event 1 typically represents occupied setpoints, while Event 2 corresponds to unoccupied settings. Additional events (3 & 4) provide further flexibility. Proper setup ensures optimal temperature regulation based on building usage patterns. Referencing the Viconics Zoning System Guide is recommended for detailed setup instructions and best practices.
Event Programming: Occupied and Unoccupied Setpoints
Viconics thermostats leverage event programming to automatically adjust temperatures based on occupancy. Two primary events define these settings: occupied and unoccupied. Occupied events (Event 1 & 3) establish comfortable temperatures when the space is in use, prioritizing thermal comfort for occupants. Conversely, unoccupied events (Event 2 & 4) implement energy-saving setpoints during periods of vacancy.
These events are configurable, allowing users to define specific time schedules and temperature values for each. The system seamlessly transitions between occupied and unoccupied modes, optimizing both comfort and energy efficiency. Careful consideration of building usage patterns is crucial for effective event programming, maximizing savings without compromising occupant satisfaction.
Four Event Configuration Options
Viconics thermostats offer four distinct event configuration options, providing granular control over temperature scheduling. Events 1 and 2 are dedicated to occupied and unoccupied setpoints respectively, forming a basic schedule. However, the system expands upon this with Events 3 and 4, also designated for occupied and unoccupied settings.
This allows for more complex programming, such as different schedules for weekdays versus weekends, or varying temperatures throughout the day. Users can define unique timeframes and temperature values for each of the four events, tailoring the system to specific building needs. Proper utilization of all four events maximizes energy savings and ensures optimal comfort levels.
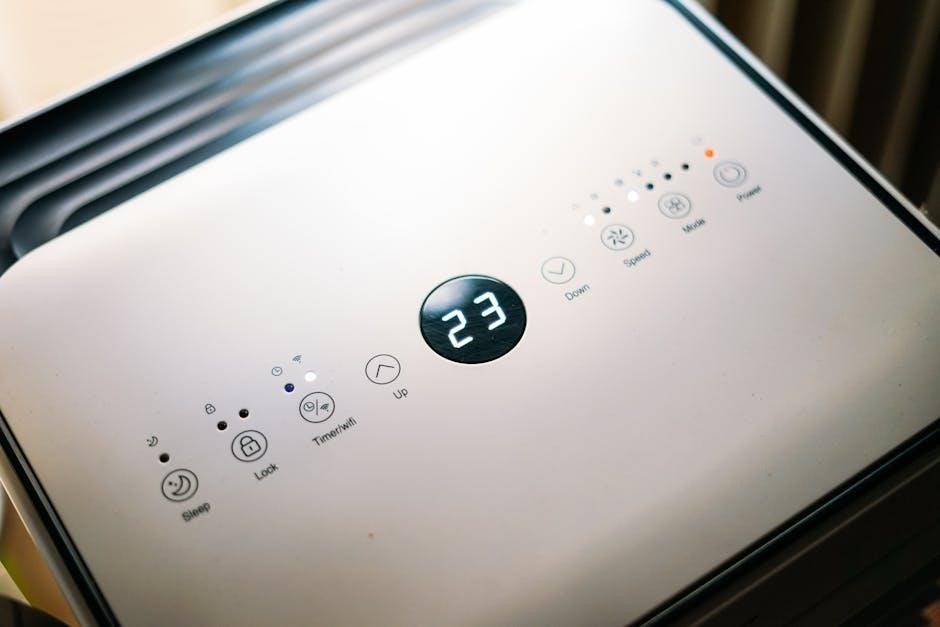
Thermostat Display and Navigation
The Viconics thermostat features a user-friendly interface designed for intuitive operation. The display clearly presents current temperature, setpoint, and operating mode. Accessing the user menu is straightforward – simply press the ‘MENU’ button. Once inside, navigation is managed using the ‘NO’ and ‘YES’ buttons.
Pressing ‘NO’ cycles through the available configuration options, allowing users to view and adjust settings. When the desired option is highlighted, pressing ‘YES’ selects it for modification. This simple two-button system ensures ease of use for all users, minimizing the learning curve and maximizing control over the thermostat’s functions.
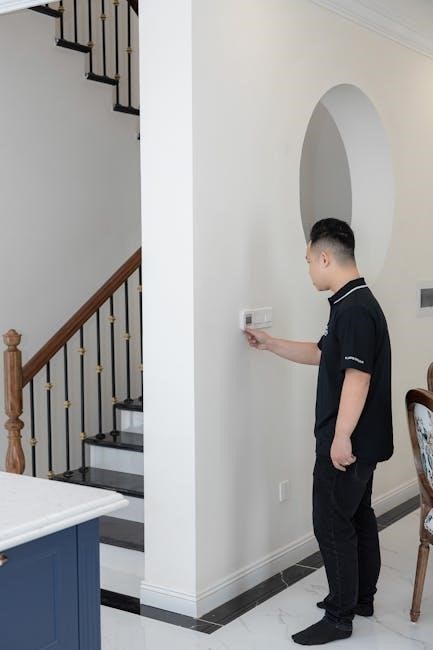
Accessing the User Menu
Initiating access to the thermostat’s user menu is a simple process. To begin, locate the clearly labeled ‘MENU’ button on the thermostat’s faceplate. A single, deliberate press of this button will immediately transition the display to the main menu screen.
From this screen, users can navigate through various settings and configurations. The thermostat is initially unlocked, allowing immediate access. The display will then present a list of configurable options, ready for review and adjustment. This straightforward method ensures quick and easy access to the thermostat’s core functionalities, enabling personalized climate control.
Navigating the Menu with ‘NO’ and ‘YES’ Buttons
Once inside the user menu, the ‘NO’ and ‘YES’ buttons become your primary tools for navigation and selection. Pressing the ‘NO’ button repeatedly scrolls through the available configuration options displayed on the screen. Continue pressing ‘NO’ until the desired setting or feature appears highlighted.
When the correct option is visible, press the ‘YES’ button to select it. This action will either open a submenu for further adjustments or apply the current setting. This intuitive ‘NO’ to scroll, ‘YES’ to select system allows for precise and efficient control over your thermostat’s functions, ensuring a user-friendly experience.
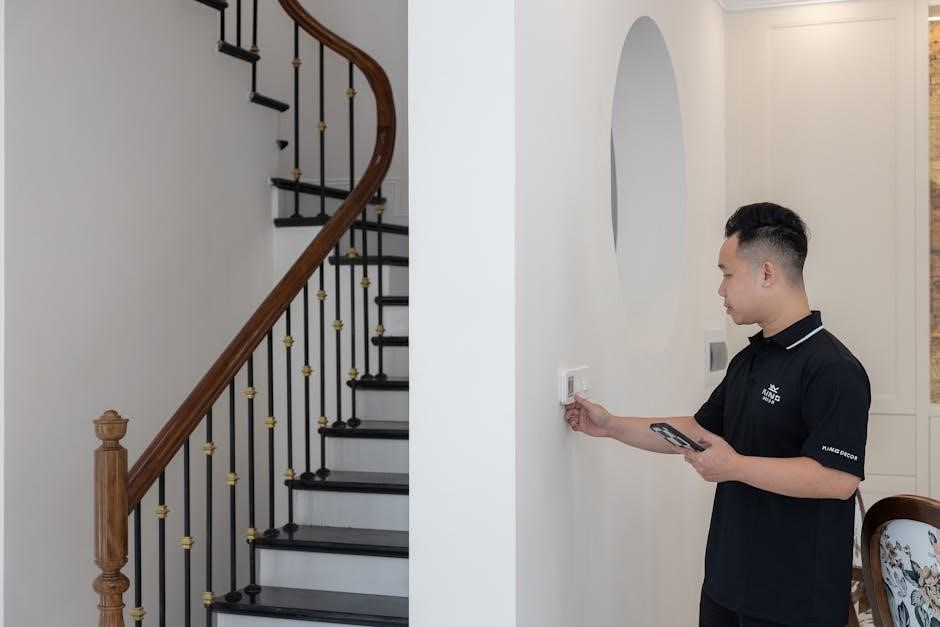
Installer Menu Access and Branch Number Entry
Accessing the Installer Menu is crucial for advanced configuration and system setup. To enter this mode, firmly press and hold the ‘MENU’ button for approximately ten seconds. The display will change, indicating successful entry into the installer level. This menu allows adjustments beyond standard user controls.
Once in the Installer Menu, use the ‘UP’ and ‘DOWN’ arrow buttons to select the appropriate branch number. This branch number identifies the specific thermostat within a larger zoning system. Carefully navigate to the correct branch before proceeding, as incorrect settings can affect system performance. Confirm the branch number before exiting the menu.
Entering Installer Mode (Holding the ‘MENU’ Button)
Gaining access to the Installer Mode on your Viconics thermostat is a straightforward process, but requires a sustained button press. Locate the ‘MENU’ button on your thermostat’s interface. To initiate entry into Installer Mode, press and hold this button down continuously for approximately ten seconds. Do not release the button prematurely.
During this ten-second hold, the thermostat’s display will likely remain unchanged initially. After the designated time, the display will transition, visually confirming successful entry into the Installer Menu. This mode unlocks advanced settings and configuration options not available to standard users. Be cautious when making changes within this mode.
Using UP and DOWN Arrows for Branch Selection
Once you’ve successfully entered the Installer Menu, the next step involves selecting the appropriate branch number. This is crucial for configuring the thermostat within your specific zoning system. Utilize the ‘UP’ and ‘DOWN’ arrow buttons, prominently located on the thermostat’s faceplate, to navigate through the available branch numbers.
Each press of the ‘UP’ arrow will increment the displayed branch number, while the ‘DOWN’ arrow will decrement it. Carefully review the numbers until you reach the designated branch number for your thermostat’s location. Once the correct branch number is displayed, proceed to the next step in the configuration process, typically involving pressing the ‘YES’ or ‘MENU’ button to confirm your selection.
Locking and Unlocking the Thermostat
The Viconics thermostat offers a locking feature to prevent unauthorized adjustments to settings. Currently, the thermostat is unlocked, indicated by a status of ‘0’; To access the user menu and make changes, simply press the ‘MENU’ button. Navigate through the options using the ‘NO’ button until you reach the desired configuration, then confirm with ‘YES’.
To lock the thermostat and prevent accidental or intentional changes, hold the ‘MENU’ button down for approximately ten seconds. This activates the locking mechanism. The thermostat will remain locked until unlocked using the appropriate procedure, ensuring consistent temperature control and preventing unwanted modifications.

Unlocking the Thermostat (Current Status: 0)
As the thermostat is presently unlocked – displaying a status of ‘0’ – accessing and modifying settings is straightforward. Begin by pressing the ‘MENU’ button. This action initiates access to the user menu, presenting a range of configurable options. Utilize the ‘NO’ button to scroll through the menu selections, carefully navigating to the specific configuration you wish to view or adjust.
Once the desired option is highlighted, press the ‘YES’ button to confirm your selection and enter the corresponding settings. This allows for precise control over your heating and cooling system, ensuring optimal comfort and energy efficiency. The unlocked status provides immediate access for adjustments.

Locking the Thermostat (Holding ‘MENU’ for 10 Seconds)
To secure your Viconics thermostat and prevent unauthorized adjustments, you can activate the locking function. Initiate this process by pressing and holding the ‘MENU’ button for approximately ten seconds. This extended press will trigger the locking mechanism, restricting access to the thermostat’s settings.
Following the ten-second hold, use the ‘UP’ and ‘DOWN’ arrow buttons to input the desired branch number. This step is crucial for identifying the specific thermostat within a zoned system. Once the correct branch number is displayed, the thermostat will be fully locked, safeguarding your programmed settings from accidental or intentional changes.
Troubleshooting: Fault Codes
Viconics thermostats utilize fault codes to indicate system malfunctions, aiding in efficient troubleshooting. These codes, displayed on the thermostat screen, provide valuable diagnostic information. When a fault code consists of multiple numbers, each digit holds specific meaning related to the issue.
Refer to dedicated documentation, specifically for the SAT-3 thermostat, for a comprehensive list of fault code interpretations. Understanding these codes allows for targeted problem-solving, minimizing downtime and ensuring optimal system performance. Promptly addressing fault codes prevents potential damage and maintains consistent climate control. Always consult the full Viconics documentation for detailed explanations.
Interpreting Multi-Number Fault Codes
When a Viconics thermostat displays a fault code comprised of multiple numbers, it’s crucial to understand that each digit signifies a distinct aspect of the problem. These aren’t simply random sequences; they’re structured for precise diagnostics. The first digit often indicates the primary system affected – heating, cooling, or communication.
Subsequent digits refine the issue, pinpointing the specific component or condition causing the fault. Detailed interpretation requires referencing the official Viconics troubleshooting guide for your specific thermostat model (like the SAT-3). Ignoring individual digits can lead to misdiagnosis and ineffective repairs. Accurate decoding ensures efficient resolution.
SAT-3 Thermostat Fault Code Information
The Viconics SAT-3 thermostat utilizes a comprehensive fault code system to aid in diagnostics. When a fault occurs, the display will illuminate with a numerical code, indicating the nature of the problem. These codes are essential for troubleshooting and should be carefully noted before contacting support.
The documentation specifically highlights that multi-number codes require interpretation of each digit. Refer to the complete SAT-3 troubleshooting guide for a detailed breakdown of each code’s meaning. Common issues indicated by fault codes include sensor failures, communication errors, and wiring problems. Proper code identification is the first step towards a swift resolution.
Wireless Thermostat Data Terminal Information
Viconics offers wireless thermostat solutions, requiring specific data terminal information for regulatory compliance and identification. Two distinct FCC IDs are associated with Viconics wireless thermostats: V95-VTGP and V95-VTP. These identifiers are crucial for verifying the device’s approval status with the Federal Communications Commission (FCC).

Detailed user manuals, accessible through documentation related to these FCC IDs, provide comprehensive information regarding the wireless functionality, operation, and safety guidelines. These manuals are essential resources for installers and end-users alike, ensuring proper setup and adherence to regulatory standards. Referencing these documents guarantees a compliant and optimized wireless thermostat experience.
FCC ID: V95-VTGP
The FCC ID V95-VTGP specifically identifies a Viconics Electronics Inc. wireless thermostat model. This unique identifier is used to track and regulate the device’s radio frequency emissions, ensuring compliance with FCC regulations. Documentation associated with this FCC ID, namely the Wireless Thermostat Data Terminal User Manual, provides detailed technical specifications and operational guidelines.
Users can utilize this FCC ID to verify the device’s certification status on the FCC website. This confirmation assures that the thermostat has undergone testing and meets established safety and performance standards. Proper use and installation, as outlined in the accompanying user manual, are vital for maintaining FCC compliance and optimal device functionality.
FCC ID: V95-VTP
FCC ID V95-VTP designates another wireless thermostat model manufactured by Viconics Electronics Inc. Similar to V95-VTGP, this identifier is crucial for regulatory compliance and tracking the device’s radio frequency performance. The associated Wireless Thermostat Data Terminal User Manual contains comprehensive information regarding its technical characteristics and operational procedures.
This FCC ID allows users to confirm the device’s certification status through the FCC database, verifying adherence to safety and performance benchmarks. Adhering to the guidelines within the user manual is essential for maintaining FCC compliance and ensuring the thermostat functions correctly. Proper installation and usage contribute to reliable wireless communication and overall system efficiency.
Terminal Identification and Function
Document 028-0228-06_LIT-VT7600-PIR-E05_EN provides a detailed component overview, specifically focusing on terminal identification and their respective functions within the Viconics thermostat. Understanding these terminals is vital for correct installation and wiring, ensuring seamless integration with the HVAC system. This documentation outlines each terminal’s purpose, clarifying its role in power supply, sensor connections, and communication pathways.
Properly identifying each terminal prevents wiring errors that could damage the thermostat or the connected HVAC equipment. The guide details the function of each connection point, enabling installers to confidently establish reliable connections. Referencing this document during installation guarantees optimal performance and longevity of the Viconics thermostat system.
Component Overview (Document 028-0228-06_LIT-VT7600-PIR-E05_EN)
Document 028-0228-06_LIT-VT7600-PIR-E05_EN serves as a crucial resource for understanding the internal components and their functions within the Viconics thermostat. It provides a detailed schematic and labeled diagram, illustrating the placement and purpose of each element. This includes the main circuit board, display module, sensor connections, and communication interfaces.
The overview clarifies the relationship between these components, aiding in troubleshooting and repair. It’s essential for technicians to familiarize themselves with this document to effectively diagnose issues and perform maintenance. The document’s clarity ensures accurate identification of parts and facilitates efficient servicing of the Viconics thermostat system, maximizing its operational lifespan.
Override Menu Functionality

The Viconics thermostat’s override menu provides temporary adjustments to the programmed schedule, allowing for personalized comfort control. Accessing this menu enables users to manually set temperature points, bypassing the established event programming. This is particularly useful for accommodating unexpected occupancy changes or specific comfort preferences.
All override menu functions are designed for intuitive operation, offering a straightforward method to adjust heating or cooling settings. These overrides typically remain active until the next scheduled event or until manually cancelled. Understanding these functions empowers users to optimize their environment and energy consumption, ensuring a comfortable and efficient experience.

Utilizing All Override Menu Functions
To effectively utilize the override menu, first access it through the user interface, typically by pressing the ‘MENU’ button. Navigate using the ‘NO’ and ‘YES’ buttons to locate the override options. These functions allow temporary adjustments to setpoints, overriding programmed schedules for immediate comfort. Users can select a desired temperature or mode – heat, cool, or auto – for a specified duration.
Remember that overrides are temporary; the system will revert to the scheduled program at the next event. Explore all available override settings to understand their impact on your system. Proper use optimizes comfort and energy efficiency, providing a flexible and responsive climate control solution.